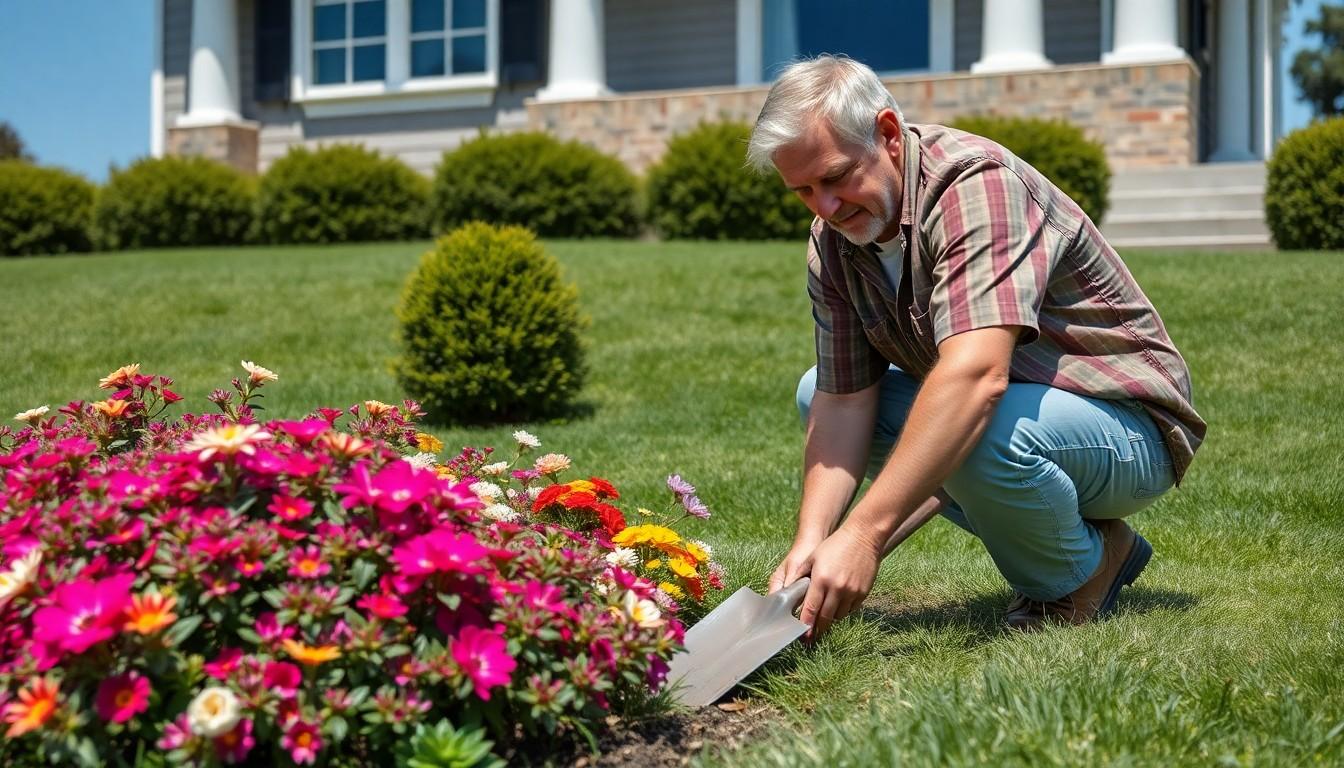
A front yard shouldn’t demand weekend after weekend of weeding, mowing, and watering. River rock landscaping offers a durable, weather-resistant alternative that cuts maintenance time by 70% or more while adding clean, modern curb appeal. Whether a homeowner is dealing with drought restrictions, poor soil, or just wants more time for projects that don’t involve yard work, river rock creates a permanent, no-mow foundation that looks sharp year-round. This guide walks through planning, installation, and design ideas that work for real-world budgets and skill levels.
Table of Contents
ToggleKey Takeaways
- Low maintenance front yard river rock landscaping cuts outdoor maintenance time by 70% or more while eliminating weekly mowing, seasonal seeding, and fertilizer schedules.
- River rock landscaping reduces outdoor water usage by 50–80% compared to traditional turf, making it ideal for drought-prone regions and areas with water restrictions.
- Proper installation requires landscape fabric, steel or aluminum edging, correct grading for drainage, and a minimum 3-inch rock depth to suppress weeds and ensure long-term durability.
- Combining river rock with drought-tolerant plants, boulders as focal points, and strategic lighting creates visual interest while maintaining the low-maintenance benefits of rock landscaping.
- River rock is a permanent solution that doesn’t fade, rot, or require annual replacement like mulch, though regular raking and occasional weeding remain necessary for optimal appearance.
- Calculate coverage by square footage and depth—one cubic yard covers about 160 square feet at 2 inches deep—and plan for $60–$90 rental fees for excavation equipment in larger installations.
Why River Rock Landscaping Is Perfect for Busy Homeowners
River rock eliminates the repetitive labor of traditional lawns. No weekly mowing, no seasonal seeding, no fertilizer schedules. Once installed with proper underlayment, it stays in place through rain, wind, and temperature swings, unlike mulch, which decomposes and requires annual replacement.
Water savings are substantial. In regions with water restrictions or high utility rates, removing turf and replacing it with river rock can cut outdoor water use by 50–80%. The rock itself doesn’t harbor weeds the way organic mulches do, especially when paired with landscape fabric.
Durability is another advantage. River rock doesn’t fade, rot, or attract pests. It handles foot traffic better than bark or wood chips and won’t wash away in heavy rain if edging is installed correctly. For homeowners juggling work, family, and a long project list, that permanence is worth the upfront effort.
One consideration: river rock does absorb and radiate heat. In full-sun areas with temperatures regularly above 90°F, it can raise ambient temperature by 10–15 degrees near hardscapes. Pairing rock with drought-tolerant plants or strategically placed trees can mitigate this.
Planning Your River Rock Front Yard Design
Start by sketching the front yard to scale on graph paper or a tablet app. Mark existing features: walkways, foundation beds, utilities, downspouts, and mature plants worth keeping. Identify high-traffic zones where rock will get compressed and areas that collect runoff.
Grading and drainage are critical. River rock is permeable, but water still needs somewhere to go. If the yard slopes toward the foundation, regrade or install a French drain before laying rock. Check local code: some jurisdictions require inspections for drainage modifications near structures.
Decide on coverage area. Full front yard replacement works for minimalist or modern landscaping ideas that emphasize hardscape over greenery. Partial coverage, rock beds around foundation plantings or along walkways, balances texture without eliminating all vegetation. Mixing rock with native grasses or succulents can soften the look and provide habitat.
Permits and HOA rules vary. Most cosmetic landscaping doesn’t require permits, but removing large trees, altering drainage, or changing elevation near property lines might. Check HOA covenants: some restrict rock color, coverage percentage, or require plantings at specific intervals.
Choosing the Right River Rock Size and Color
River rock is sold by size, typically measured in inches. Common sizes:
- ¾–1 inch (pea gravel): Affordable and easy to rake, but small enough to migrate into turf or get tracked indoors. Works well for pathways and tight spaces.
- 1–3 inches (standard river rock): The workhorse size for most front yards. Heavy enough to stay put, light enough to handle solo. Good for beds and borders.
- 3–5 inches (large river rock): Makes a bold statement and resists displacement, but harder to spread evenly. Best for accent areas or slopes.
- 5+ inches (boulders/cobbles): Decorative anchors, not coverage material. Use sparingly for focal points.
Color affects both aesthetics and heat absorption. Light tans, grays, and whites reflect more sunlight and stay cooler, important near walkways or windows. Darker browns and blacks absorb heat and can look dramatic against light-colored homes but may be uncomfortable to walk on in summer. Regional availability affects cost: rock quarried locally is cheaper than imported stone.
Calculate coverage using depth and square footage. A 2-inch depth is minimum for weed suppression: 3–4 inches is better for durability and full coverage. One cubic yard covers about 160 square feet at 2 inches deep. Most suppliers sell by the ton or cubic yard: expect 1.3–1.5 tons per cubic yard depending on rock density.
Essential Materials and Tools You’ll Need
Materials:
- River rock (calculated by square footage and depth)
- Landscape fabric (commercial-grade woven polypropylene, not thin black plastic, it tears and doesn’t breathe)
- Edging: Steel, aluminum, or poly edging to contain rock and prevent spread into turf or walkways. Avoid cheap plastic edging: it warps and lifts.
- Compactable base (optional but recommended for high-traffic areas): ¾-inch crushed stone or decomposed granite to create a firm subsurface
- Fabric staples or landscape pins (6-inch steel pins work best)
Tools:
- Flat shovel and square-nose spade for excavation
- Garden rake (metal tines) for leveling
- Wheelbarrow or garden cart for hauling rock
- Tape measure and marking spray paint for layout
- Tamper or plate compactor if installing a base layer (a hand tamper works for small areas: rent a plate compactor for 500+ square feet)
- Work gloves (leather or rubberized palm)
- Knee pads (you’ll spend hours on the ground)
- Safety glasses (rock dust and chips are common during spreading)
Delivery is worth considering. A cubic yard of river rock weighs 2,400–3,000 pounds. Hauling that in a half-ton pickup requires multiple trips. Many suppliers offer dumping for a fee: they’ll drop a pallet or loose pile on your driveway. Just have a plan for moving it quickly, HOAs and neighbors aren’t fans of rock piles that linger.
Step-by-Step Installation Guide for River Rock Landscaping
1. Clear and excavate the area.
Remove existing grass, weeds, and roots. For turf, use a sod cutter (rentable for $60–$90/day) or slice and roll by hand with a flat shovel. Dig down 3–5 inches total: 1–2 inches for optional base, 3–4 inches for rock. Slope away from the foundation at a minimum 2% grade (¼ inch per foot) to prevent water pooling.
2. Install edging.
Run edging along all borders before laying fabric. Steel edging lasts decades and holds a clean line: aluminum is lighter and easier to bend for curves. Stake every 3 feet and at all corners. Top of edging should sit flush with or slightly below the final rock surface.
3. Lay landscape fabric.
Roll out fabric perpendicular to the slope if present. Overlap seams by 6–12 inches and pin every 3–4 feet. Don’t skimp here, cheap fabric tears when you dump rock on it. For areas with aggressive weeds (bindweed, Bermuda grass), consider a double layer or crushed granite landscaping as a base to add weight and suppress growth.
4. (Optional) Add and compact base layer.
If the ground is soft or the area sees foot traffic, spread 1–2 inches of ¾-inch crushed stone over the fabric. Wet lightly and compact with a tamper or plate compactor until firm. This step isn’t cosmetic, it prevents rock from sinking unevenly and creating low spots.
5. Spread river rock.
Dump rock in small piles across the area, then rake to even depth. Work from the back toward the front to avoid walking on finished sections. For small rocks for landscaping like pea gravel, a leaf rake spreads material quickly without snagging fabric. For 2–4 inch rock, use a heavy-duty garden rake and your hands.
Check depth with a ruler as you go. Three inches minimum provides full coverage and makes weeds struggle to root. If you can see fabric through the rock, add more.
6. Water and settle.
Once spread, lightly spray the rock with a hose. This settles dust, reveals low spots, and locks smaller stones into place. Top off any thin areas.
7. Edge cleanup.
Sweep rock off walkways and driveways with a push broom. A leaf blower works but can scatter smaller stones, use low speed. Trim any exposed fabric flush with the edging using a utility knife.
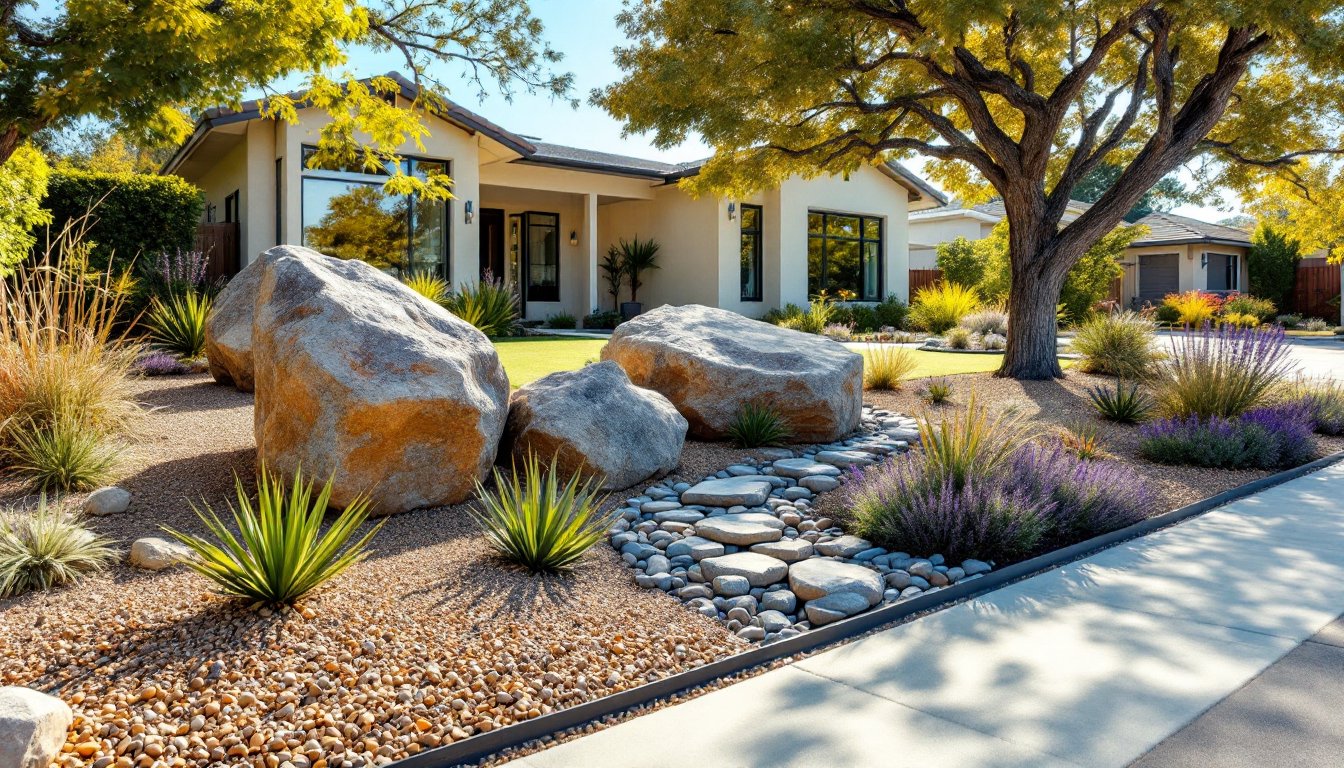
Low Maintenance Design Ideas to Maximize Curb Appeal
Contrast and focal points prevent river rock from reading as flat or monotonous. Cluster three or five large boulders (odd numbers look more natural) near the entry or mailbox. Surround them with smaller rock and add one or two architectural plants, agave, yucca, ornamental grass, for vertical interest.
Dry creek beds are a functional design trick. If the yard has a natural drainage path, line it with larger 3–5 inch river rock and border with smaller stone. It channels runoff during storms and looks intentional year-round. Simple front of house landscaping often benefits from this practical-meets-aesthetic approach.
Planters and raised beds break up expanses of rock. Galvanized stock tanks, cedar boxes, or stacked stone walls add height and provide space for seasonal color or herbs. They’re easier to maintain than in-ground beds and keep soil from mixing with rock.
Lighting transforms river rock at night. Low-voltage LED path lights or uplighting on boulders and plants create depth. Rock reflects light well, so fewer fixtures are needed than in mulched beds. Many landscaping pictures for front of house online showcase this effect.
Mixing textures adds richness. Pair smooth river rock with rough flagstone pavers for walkways, or border rock beds with weathered timbers or steel edging. According to design resources at HGTV, layering materials in odd numbers and varied sizes creates a more organic, less “contractor-grade” look.
Long-Term Care Tips for Your River Rock Landscape
River rock isn’t zero-maintenance, but upkeep is minimal compared to turf or mulch. Weeding is the main task. Even with fabric, windblown seeds will sprout in dust and organic debris that settles between stones. Hand-pull or spot-treat with glyphosate (Roundup) in early spring before weeds establish deep roots. Avoid pre-emergent herbicides near desirable plants unless labeled safe.
Raking and refreshing keeps rock looking sharp. Once or twice a year, rake the surface to redistribute stones, especially in high-traffic areas where rock compresses. Hose off dust and pollen buildup. In areas with deciduous trees, use a leaf blower in fall, leaves and needles are easier to remove from rock than mulch.
Edging maintenance matters. Every few years, re-stake or realign edging that’s shifted. If rock migrates onto walkways, it creates a tripping hazard and looks sloppy. A weekly sweep prevents buildup.
Top-dressing every 5–7 years may be needed in heavily used areas or spots where rock has settled or been displaced. Add a fresh 1-inch layer to restore depth and coverage. This is far cheaper and easier than replacing mulch annually.
Plant care depends on what’s been added. Drought-tolerant species (lavender, sedum, Russian sage) thrive with minimal water once established. Drip irrigation under the rock and fabric keeps water off the stones and targets roots directly. Some homeowners exploring low-maintenance landscaping ideas pair native plants with rock for a regionally appropriate, resilient design.
Pests aren’t usually a problem with rock, but scorpions and spiders may take shelter under larger stones in dry climates. Shake out gloves and check shoes if working in those areas. Resources like Hunker offer additional tips on managing outdoor spaces in various climates and dealing with region-specific challenges.