Your backyard isn’t just a patch of grass anymore, it’s an extension of your living space, and smart landscaping can turn it into a place you actually want to spend time. Whether you’re dealing with a quarter-acre lot or a narrow city yard, the right combination of hardscaping, plantings, and functional zones can boost curb appeal, increase property value, and give you an outdoor retreat without the resort price tag. This guide walks through proven landscaping strategies that balance aesthetics with practicality, covering everything from patio zones and garden beds to lighting and vertical gardens. Roll up your sleeves and let’s get started.
Table of Contents
ToggleKey Takeaways
- Smart backyard landscaping transforms outdoor space into a functional extension of your home by strategically combining hardscaping, plantings, and lighting to boost curb appeal and property value.
- Create defined outdoor living areas with pavers or concrete (a 12×16-foot patio works well for six), then frame with low-maintenance plants and shade elements like pergolas for year-round usability.
- Low-maintenance garden beds require proper site prep with mulch, edging, and grouping plants by water and sun needs to reduce ongoing work while preventing disease and erosion.
- Hardscaping elements such as gravel pathways, retaining walls, and stepping stones provide structure and reduce turf maintenance, with most DIY-friendly options like stackable blocks available for smaller projects.
- Water features and vertical gardens add ambiance and maximize planting space in tight yards; choose between budget-friendly bird baths or low-voltage LED lighting to extend evening enjoyment.
- Start your backyard landscaping project with one zone and build in stages, prioritizing good materials, proper site preparation, and realistic maintenance expectations for long-term success.
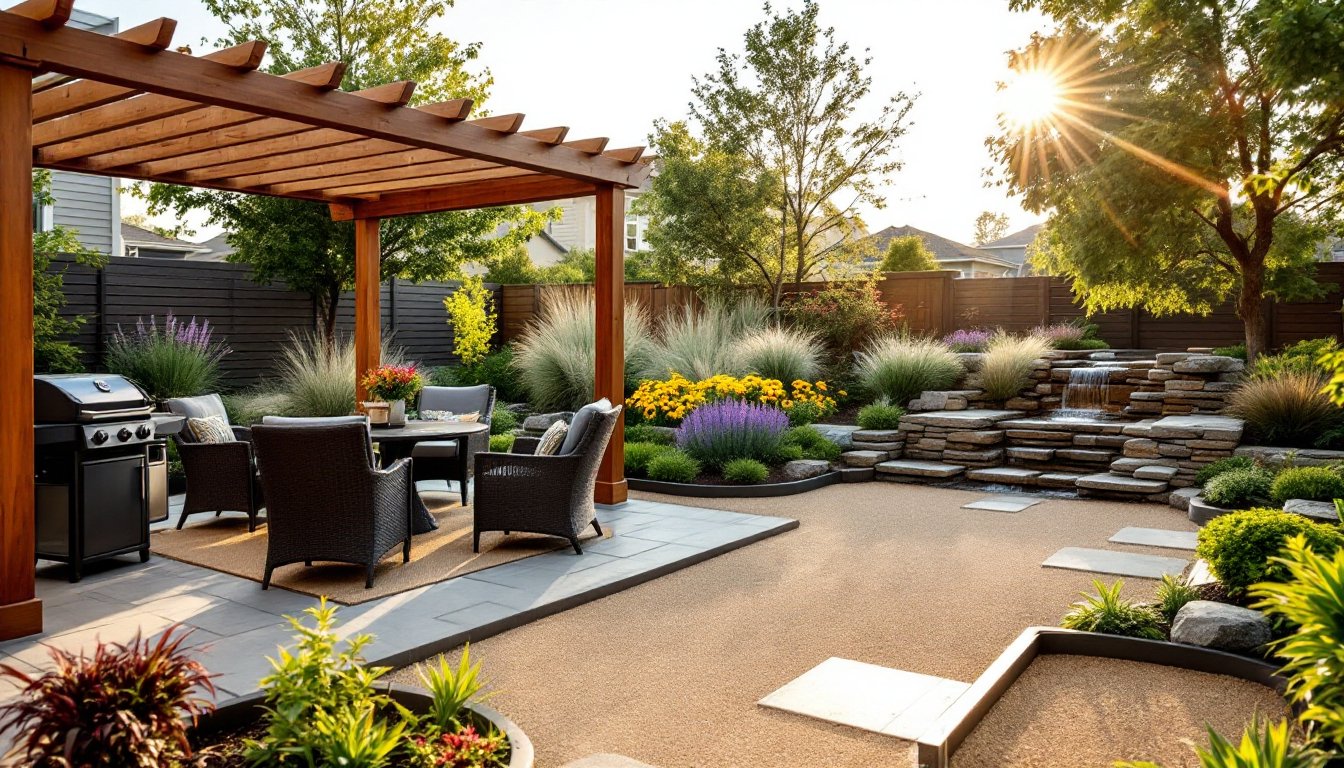
Create Outdoor Living Areas for Relaxation and Entertainment
Define your outdoor living space with pavers, flagstone, or poured concrete to create a stable, level platform for furniture and foot traffic. A 12×16-foot patio accommodates a table and chairs for six comfortably: go larger if you plan to add a grill or fire pit.
Choose materials based on climate and use. Concrete pavers (standard 12×12 or 16×16 inches) are budget-friendly and DIY-friendly, while natural flagstone offers texture but requires a compacted gravel base and polymeric sand joints to prevent shifting. If you’re pouring concrete, expect about 80 square feet per cubic yard, hire a contractor for anything over 150 square feet unless you’ve got experience finishing before it sets.
Frame the patio with low-maintenance plantings like ornamental grasses, lavender, or dwarf shrubs. Avoid high-water plants near seating areas: you don’t want sprinkler overspray on cushions. Add a pergola or shade sail if the space gets full sun, untreated pine pergolas are affordable but need annual sealant, while cedar or composite lumber lasts longer with minimal upkeep.
Include weatherproof electrical outlets (GFCI-protected per NEC code) if you plan to add string lights, speakers, or a beverage fridge. Running conduit underground requires trenching at least 18 inches deep for buried cable: hire a licensed electrician if you’re not comfortable with panel work.
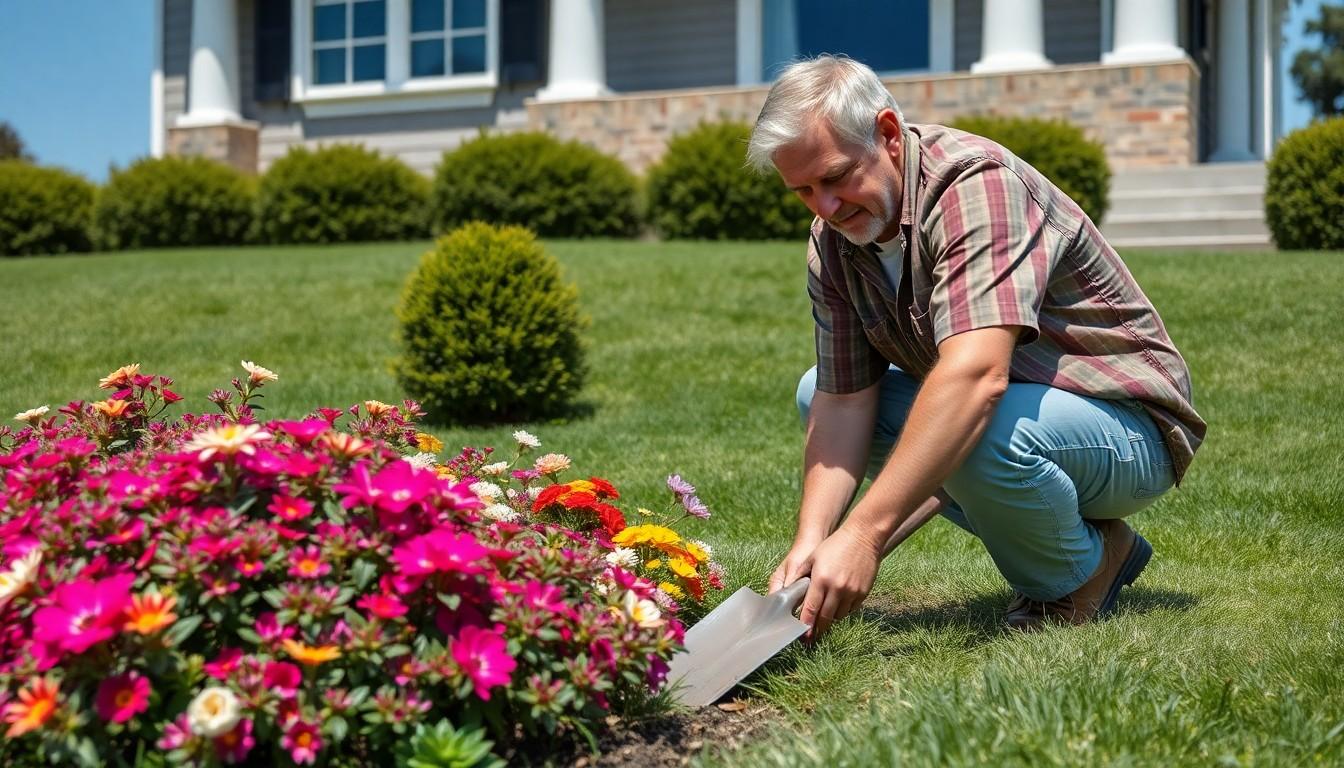
Design Low-Maintenance Garden Beds and Borders
Start with landscape fabric or cardboard as a weed barrier, then top with 2–3 inches of mulch (shredded hardwood, pine bark, or composted wood chips). Mulch breaks down over time, so plan to refresh it annually. Skip the dyed stuff, it fades fast and doesn’t add organic matter back to the soil.
Group plants by water needs and sun exposure. Drought-tolerant perennials like Russian sage, black-eyed Susans, and sedum thrive in full sun with minimal watering once established. For shaded beds, hostas, astilbes, and ferns handle low light and moist soil. Space plants according to their mature spread, not how they look in the nursery pot, crowding leads to disease and weak growth.
Edge beds with steel, aluminum, or composite edging to keep mulch in place and create clean lines. Plastic edging works but tends to heave in freeze-thaw cycles. Install edging flush with the soil surface so your mower can pass over it without scalping the grass.
If you’re working with slopes or poor drainage, consider artificial turf alternatives that eliminate mowing and watering altogether. Otherwise, amend clay or sandy soil with 2–3 inches of compost worked into the top 6 inches before planting.
Add Hardscaping Elements for Structure and Function
Hardscaping does the heavy lifting in landscape design, it defines pathways, retains soil, and adds year-round structure. Gravel pathways are the simplest DIY option: excavate 3–4 inches, lay landscape fabric, then add 2 inches of compacted base rock topped with 1–2 inches of pea gravel or crushed stone. Edge with treated 2×4 lumber or metal edging to contain the material.
For steeper yards, retaining walls prevent erosion and create terraced planting beds. Stackable concrete blocks (like Allan Block or similar systems) don’t require mortar and can handle walls up to 3–4 feet before you need engineering and a permit. Anything taller, sloped, or supporting a structure requires a licensed contractor and geogrid reinforcement.
Stepping stone paths work well in low-traffic areas. Set flagstones or concrete pavers on a 2-inch sand bed, spacing them 18–24 inches apart for a comfortable stride. Fill gaps with decorative gravel or groundcover like creeping thyme.
Design trends continue to favor gravel-based landscapes that reduce turf and maintenance. If you’re replacing grass, plan for proper drainage, gravel alone doesn’t absorb water like soil, so slope away from foundations and add French drains if pooling is an issue.
Incorporate Water Features for Ambiance and Tranquility
Water features range from simple birdbaths to recirculating streams, but all require planning for power and water access. A bubbling urn or fountain runs on a small submersible pump (150–300 GPH) and needs a GFCI outlet within 6 feet. Fill the reservoir every few days in hot weather to compensate for evaporation.
For a natural look, pond installations involve excavating, lining with EPDM rubber (45-mil thickness), and edging with stone or plants. A 6×8-foot pond holds roughly 200–300 gallons and requires a pump, filter, and UV clarifier if you add fish. Locate ponds away from trees, falling leaves clog filters and decompose into sludge.
If you’re inspired by naturalistic pond designs, budget time for ongoing maintenance: algae control, pump cleaning, and seasonal plant trimming. Mosquito dunks (Bti-based) prevent larvae without harming fish or plants.
Pondless waterfalls offer the sound of moving water without the open basin, water recirculates through a buried gravel reservoir, making them safer around kids and pets. Expect to move some rock: a modest pondless setup uses 300–500 pounds of stone for the spillway and edging.
Build Vertical Gardens and Privacy Screens
Vertical gardens maximize planting space in small yards and soften fences or walls. Trellis panels (4×8 or 2×8 feet) attach to posts or mount directly to siding with standoff brackets for airflow. Grow climbing plants like clematis, climbing hydrangea, or annual vines (morning glory, scarlet runner beans).
Living walls use modular felt pockets or stackable planters and require drip irrigation to keep soil evenly moist. They’re dramatic but high-maintenance, plan for weekly watering and fertilizing during the growing season.
For instant privacy, lattice panels or slatted cedar fencing provide a semi-opaque screen without the weight and cost of solid boards. Space slats 2–3 inches apart for airflow and light. Treat with exterior stain or let cedar weather to silver-gray naturally.
If zoning allows, a hedge of arborvitae, Leyland cypress, or boxwood creates a living screen. Space shrubs 3–4 feet on center for faster fill-in: expect 6–12 inches of growth per year depending on species and watering. Avoid planting directly on the property line unless you’ve confirmed setbacks with your municipality.
Consider compact landscaping techniques if you’re working with limited square footage, vertical structures make the most of tight quarters.
Install Outdoor Lighting to Extend Evening Enjoyment
Low-voltage LED landscape lighting (12V systems) is the DIY-friendly standard. A 300-watt transformer powers 15–20 fixtures: bury cable 6 inches deep or run it under mulch to avoid tripping hazards. Use wire connectors rated for direct burial, not standard wire nuts.
Layer lighting types for function and ambiance. Path lights (spaced 8–10 feet apart) mark walkways. Spotlights or well lights highlight trees, architectural features, or specimen plants. String lights or bistro bulbs add charm to patios and pergolas: choose LED bulbs for lower heat and energy use.
Many homeowners find professional-grade landscape lighting worth the investment for durability and warranty coverage. Brass or copper fixtures outlast plastic and resist corrosion in wet climates.
Place uplights 2–3 feet from tree trunks to cast dramatic shadows through branches. Down-lighting from overhead structures requires weatherproof junction boxes and GFCI protection, hire an electrician if you’re tapping into 120V house circuits.
Timer or photocell controls automate on/off cycles: smart controllers add scheduling and dimming via smartphone. Always use outdoor-rated cable (direct burial UF-B or low-voltage landscape wire) and keep transformers in ventilated, weatherproof enclosures.
Conclusion
Transforming a backyard doesn’t require a landscape architect or a five-figure budget, just a clear plan and the willingness to tackle projects in stages. Start with one zone, whether that’s a patio, a garden bed, or a simple gravel path, and build from there. The projects that hold up best combine good materials, proper site prep, and a realistic assessment of what you’ll maintain long-term. Your backyard is waiting.