Bathroom floors take a beating, moisture, foot traffic, dropped bottles, and daily cleaning routines demand a surface that’s both durable and water-resistant. Tile remains the gold standard for bathroom flooring, offering unmatched versatility in style, material, and budget. Whether renovating a cramped powder room or upgrading a spacious master bath, the right tile choice sets the tone for the entire space. This guide walks through 15 practical tile flooring ideas across five categories, from timeless ceramics to luxe natural stone, plus installation tips to help DIYers get professional results without the contractor markup.
Table of Contents
ToggleKey Takeaways
- Tile bathroom flooring ideas range from affordable ceramic to luxe natural stone, with porcelain offering the best balance of water-resistance, durability, and style for high-moisture areas.
- Large-format tiles (12×24 inches or bigger) and proper waterproofing using sheet membranes like Schluter KERDI prevent water damage and reduce maintenance compared to smaller tile options.
- Budget-friendly alternatives like standard ceramic tile, peel-and-stick vinyl, and discontinued clearance tile can cost under $3 per square foot while DIY installation saves $5–10 per square foot in labor.
- Slip-resistant finishes with a Dynamic Coefficient of Friction (DCOF) above 0.42 are essential for wet bathroom floors, and natural stone like slate provides excellent traction when properly sealed.
- Proper prep work, dry-laying tiles before installation, and using 80% mortar coverage prevent costly mistakes and ensure professional results in DIY tile bathroom flooring projects.
- Seal all grout and porous stone tiles annually to protect against staining and moisture infiltration, with natural stone requiring pH-neutral cleaners to avoid etching.
Classic Ceramic and Porcelain Tile Options
Ceramic and porcelain tiles dominate bathroom floors for good reason: they’re affordable, water-resistant, and available in thousands of patterns and finishes. Porcelain is denser and less porous than standard ceramic, making it the better pick for high-moisture areas. Look for tiles rated for floor use (not wall-only), they’re thicker and designed to handle weight and impact.
Large-format tiles (12×24-inch or bigger) create a cleaner, more modern look with fewer grout lines. Fewer seams mean less maintenance and reduced water infiltration risk. Install these over a properly waterproofed substrate like cement board or a Schluter membrane system to prevent subfloor damage.
Hexagon and penny round tiles bring geometric interest without overwhelming small spaces. These mosaics come on mesh-backed sheets for easier installation. Pair them with a contrasting grout color, charcoal grout with white hexagons, for instance, to highlight the pattern. Just remember: more grout lines mean more scrubbing, so seal grout annually with a penetrating sealer.
Wood-look porcelain planks mimic hardwood or luxury vinyl but with tile’s waterproof durability. They’re manufactured in 6×36-inch or 8×48-inch planks and install similar to standard tile. This style works especially well in transitional designs where you want continuity between the bathroom and adjacent hallways without actual wood’s moisture concerns.
Timeless Subway Tile Patterns
Subway tile isn’t just for walls. Laying 3×6-inch subway tiles in a running bond or herringbone pattern on the floor creates a classic, high-end look at a mid-range price point. The various tile types available include ceramic and porcelain subway formats with slip-resistant textures designed specifically for flooring.
For floor applications, choose matte or textured finishes over glossy. A wet glossy tile is a slip hazard, especially barefoot. Check the tile’s Dynamic Coefficient of Friction (DCOF), anything above 0.42 is considered slip-resistant for wet areas per ANSI standards.
Install subway tile with 1/8-inch grout joints for a tighter, more modern appearance. Use unsanded grout for joints this narrow to avoid scratching the tile surface during installation. A stacked vertical pattern (grid layout) offers a contemporary twist on the classic offset pattern.
Bold and Beautiful: Statement Tile Designs
Statement tiles turn bathroom floors into focal points. Encaustic cement tiles feature bold, hand-painted patterns in rich colors, think Moroccan geometrics or Spanish florals. These tiles require sealing before and after grouting to prevent staining, and they’re softer than porcelain, so avoid using them in high-traffic family baths.
Terrazzo tiles are making a comeback, offering speckled patterns with chips of marble, quartz, or glass embedded in cement or resin. Modern terrazzo comes in larger formats (18×18-inch or 24×24-inch) and softer color palettes than the 1980s versions. They’re durable and low-maintenance once sealed, though the upfront cost runs higher than standard ceramic.
Patterned porcelain mimics encaustic cement at a fraction of the cost and with better water resistance. Manufacturers now produce convincing digital prints of traditional patterns on porcelain bodies. Look for through-body porcelain where the pattern penetrates the tile thickness, surface prints can show wear over time.
Black-and-white checkerboard remains a timeless bold choice. Use 12×12-inch tiles for a classic diner vibe or scale down to 6×6-inch for tighter spaces. This high-contrast pattern hides dirt well but shows soap scum on dark tiles, so factor in extra wipe-down time.
Metallic and iridescent tiles add shimmer without going full disco ball. Small-format mosaics with metallic glazes work as accent borders or full-floor installations in powder rooms. These finishes can scratch more easily than standard glazes, so avoid abrasive cleaners.
Natural Stone Tiles for a Luxurious Feel
Natural stone brings organic texture and unique variation no two tiles are identical. Marble is the luxury standard, Carrara, Calacatta, and Statuario varieties offer white backgrounds with gray or gold veining. Marble is softer than porcelain and etches from acidic cleaners, so it demands more maintenance. Seal it every 6–12 months and clean with pH-neutral products only.
Travertine offers a rustic, old-world aesthetic with natural pitting and variation in beige, tan, and gray tones. It’s more affordable than marble but equally porous. Travertine comes filled (smooth surface with resin-filled holes) or unfilled (visible pores). For bathroom floors, always choose filled and honed (matte) or tumbled finishes, polished travertine becomes dangerously slick when wet.
Slate provides excellent slip resistance thanks to its naturally textured, layered surface. It ranges from charcoal black to rusty orange depending on mineral content and origin. Slate’s color deepens when sealed, which also protects against water absorption. It’s one of the most durable tile options for wet environments, though its rustic look doesn’t suit every design style.
Limestone delivers understated elegance in soft, neutral tones. Like marble and travertine, it’s calcium-based and prone to etching, so maintenance is similar. Honed limestone in large formats (16×16-inch or bigger) works beautifully in spa-like settings.
All natural stone tiles require a breathable penetrating sealer, not a topical coating that can trap moisture and cause spalling. Plan on resealing annually in high-use bathrooms. Stone also needs a mortar bed or thick-set installation for proper support: thin-set over deflecting subfloors can crack natural stone more easily than porcelain.
Budget-Friendly Tile Flooring Solutions
Quality tile floors don’t require maxing out credit cards. Standard ceramic tile in 12×12-inch format remains the most economical choice, often under $2 per square foot. Pair budget tile with upgraded grout, epoxy grout costs more upfront but never needs sealing and resists staining far better than standard cement grout.
Peel-and-stick vinyl tile has come a long way. Premium versions now mimic ceramic and stone convincingly, install without mortar or grout, and cost $1–3 per square foot. They’re ideal for renters or DIYers tackling a first tile project. The catch: they require a perfectly smooth, clean substrate and won’t last as long as real tile, expect 5–10 years versus 20+ for ceramic.
Clearance and discontinued tile from big-box stores or tile liquidators can slash costs by 50–70%. Measure the bathroom carefully and add 15% waste factor before hunting deals, if the lot doesn’t cover your square footage plus extra for future repairs, keep looking. Mixing tile patterns works for accent borders, but mismatched field tile looks unintentional.
White ceramic in bulk offers the lowest per-square-foot cost. Create visual interest without added tile expense by using decorative grout colors or mixing tile orientations, subway tile in herringbone versus running bond, for example. Labor and layout choices can elevate inexpensive materials.
DIY installation saves $5–10 per square foot compared to contractor rates. A typical 50-square-foot bathroom costs $250–500 in labor if hired out but under $100 in tool rental for a confident DIYer. For project planning and cost estimates, factor in substrate prep, waterproofing membranes, and tool rental, these hidden costs add up fast.
Installation Tips for DIY Success
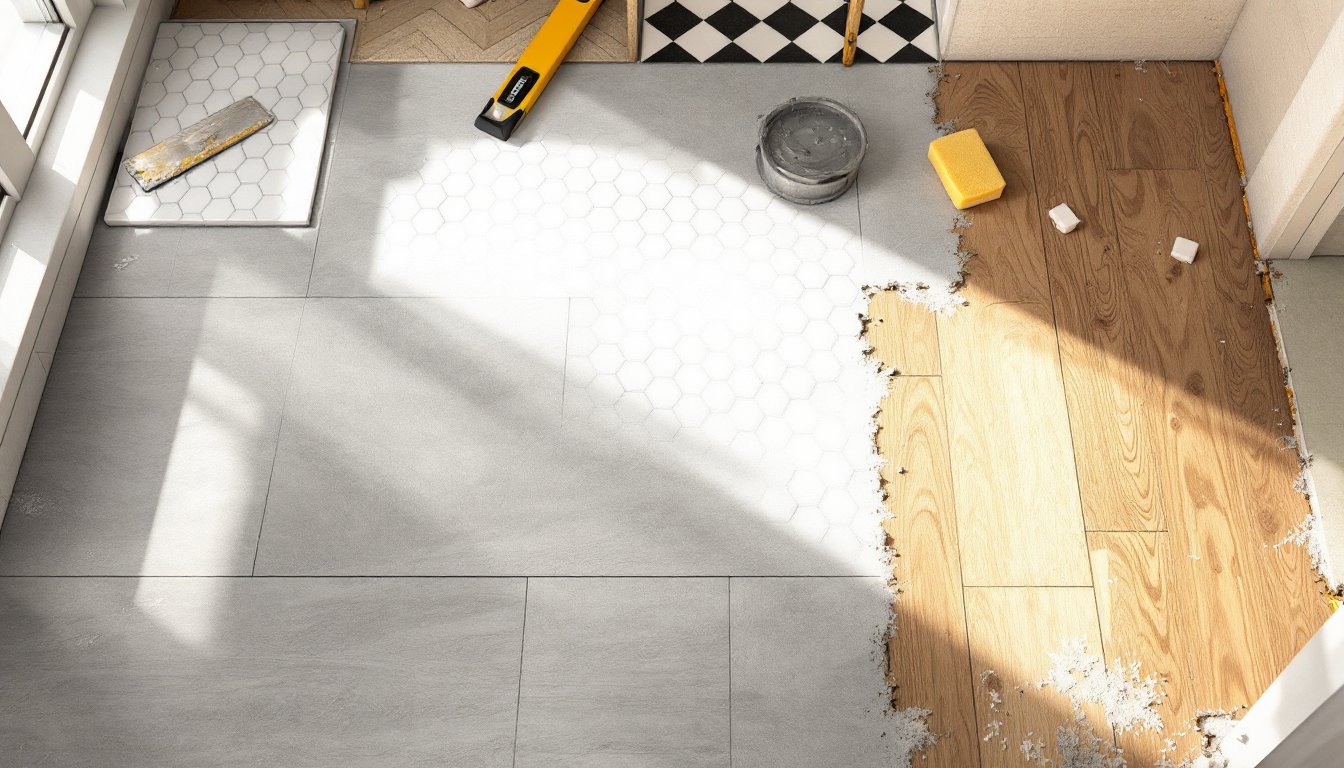
Tile installation isn’t rocket science, but it’s unforgiving, mistakes are permanent until you grab the chisel. Prep work determines 80% of the outcome. The subfloor must be clean, level, and stiff. Bathrooms need either 3/4-inch tongue-and-groove plywood over 16-inch on-center joists or a layer of 1/2-inch cement backer board over 5/8-inch plywood. Bounciness causes cracked tiles and grout.
Waterproofing is non-negotiable in bathrooms. Apply a sheet membrane (like Schluter KERDI or similar) or liquid membrane over the entire floor and up the walls 6 inches, with extra attention at the toilet flange and tub edges. Most tile failures come from water reaching the subfloor, not tile quality issues.
Dry-lay the tile first. Snap chalk lines at the room’s center point and arrange tiles without mortar to check the layout. Aim for cuts larger than half a tile at walls, tiny slivers look amateurish and break easily. Adjust your starting point to balance cuts on opposite walls.
Use the right trowel. For floor tile, a 1/4-inch or 3/8-inch square-notch trowel is standard depending on tile size. Larger tiles need bigger notches to achieve proper coverage. Hold the trowel at a 45-degree angle and comb mortar in one direction only, this eliminates air pockets. Check coverage on the first few tiles by pulling one up: you should see at least 80% mortar contact.
Spacers maintain consistent grout joints. Use 1/8-inch spacers for tight, modern joints or 3/16-inch for easier grouting and more forgiving layouts. Pull spacers before mortar fully cures, dried mortar locks them in place.
Grouting requires patience. Wait 24–72 hours after setting tile (check mortar bag instructions). Mix grout to peanut butter consistency and work it into joints at a 45-degree angle with a rubber float. Remove excess with the float held at 90 degrees, then sponge-clean with minimal water. Too much water weakens grout.
Seal grout after it cures (typically 72 hours). Penetrating grout sealers prevent staining and moisture infiltration. Epoxy grout doesn’t need sealing but is trickier to install, it sets fast and requires immediate cleanup.
Tools you’ll need:
- Wet saw or angle grinder with diamond blade (rent for $40–60/day)
- Notched trowel (size matched to tile)
- Rubber grout float
- Bucket and sponge
- Chalk line and carpenter’s square
- Tile spacers
- Safety glasses and knee pads
Safety notes: Wet saws spray water and porcelain dust. Wear safety glasses, hearing protection, and a dust mask when cutting tile. Work in a ventilated area or outdoors if possible. Wet tile is slippery, keep the work area clear of tripping hazards.
Conclusion
The best bathroom tile balances style, durability, and budget while matching the skill level and maintenance commitment of whoever’s swinging the mop. Porcelain delivers worry-free performance, natural stone brings organic luxury with upkeep requirements, and budget options prove that great design doesn’t demand a second mortgage. Take time with layout and prep work, rushing those steps causes most DIY tile regrets. Choose slip-resistant finishes, seal everything properly, and the floor will outlast the next three faucet replacements.